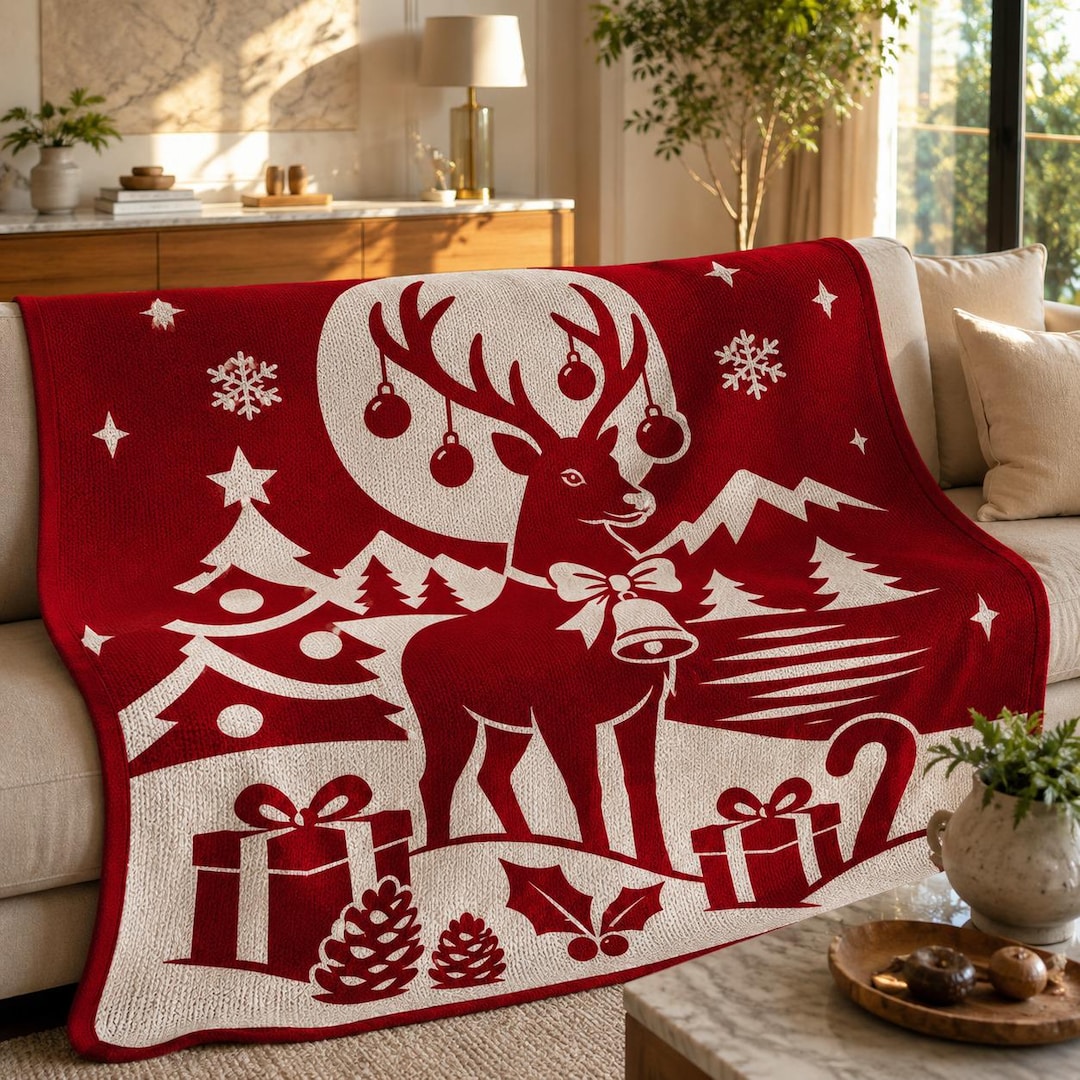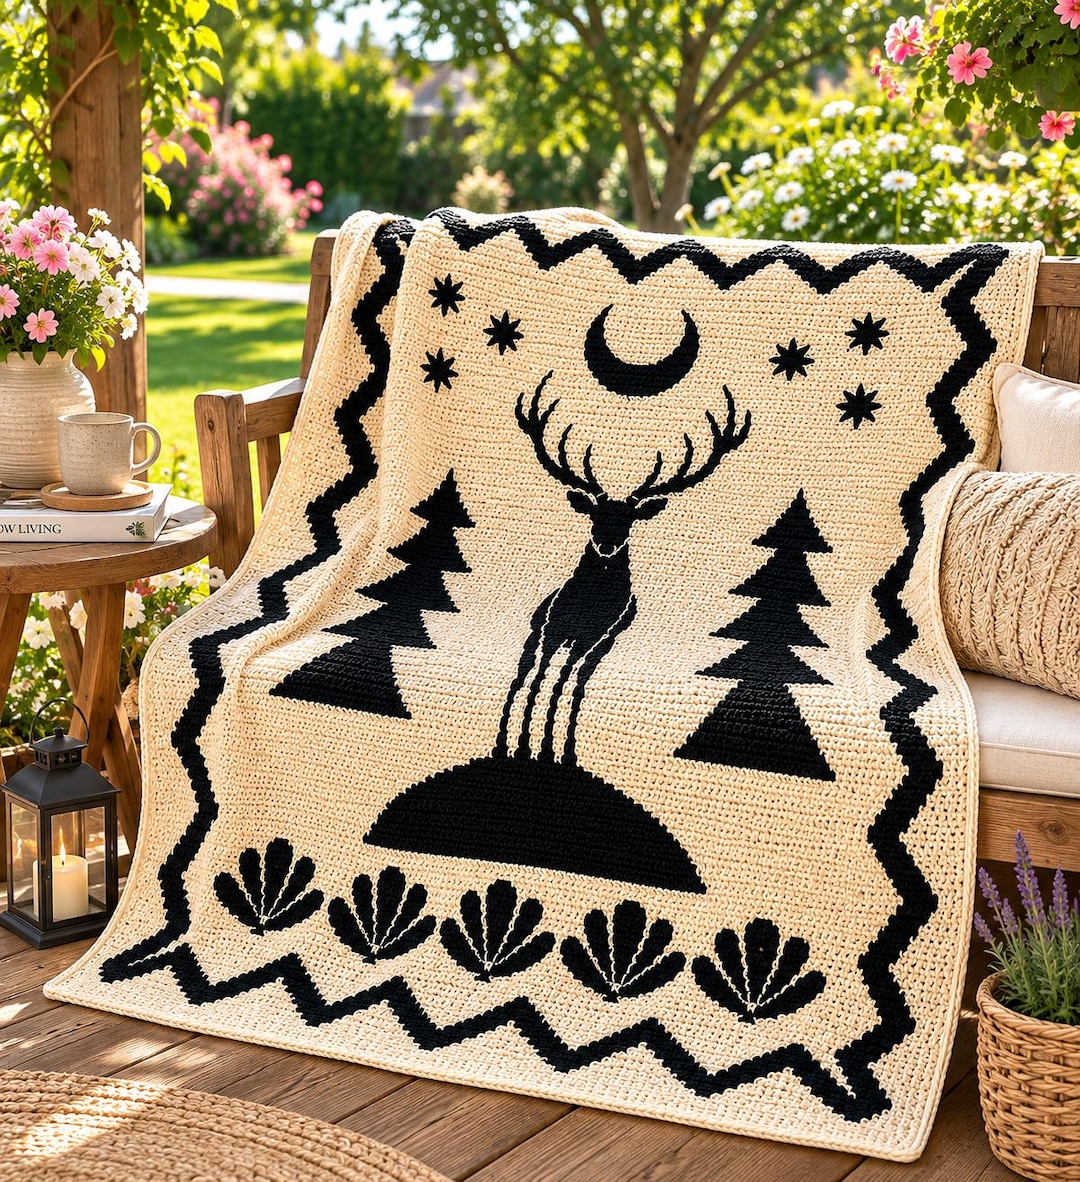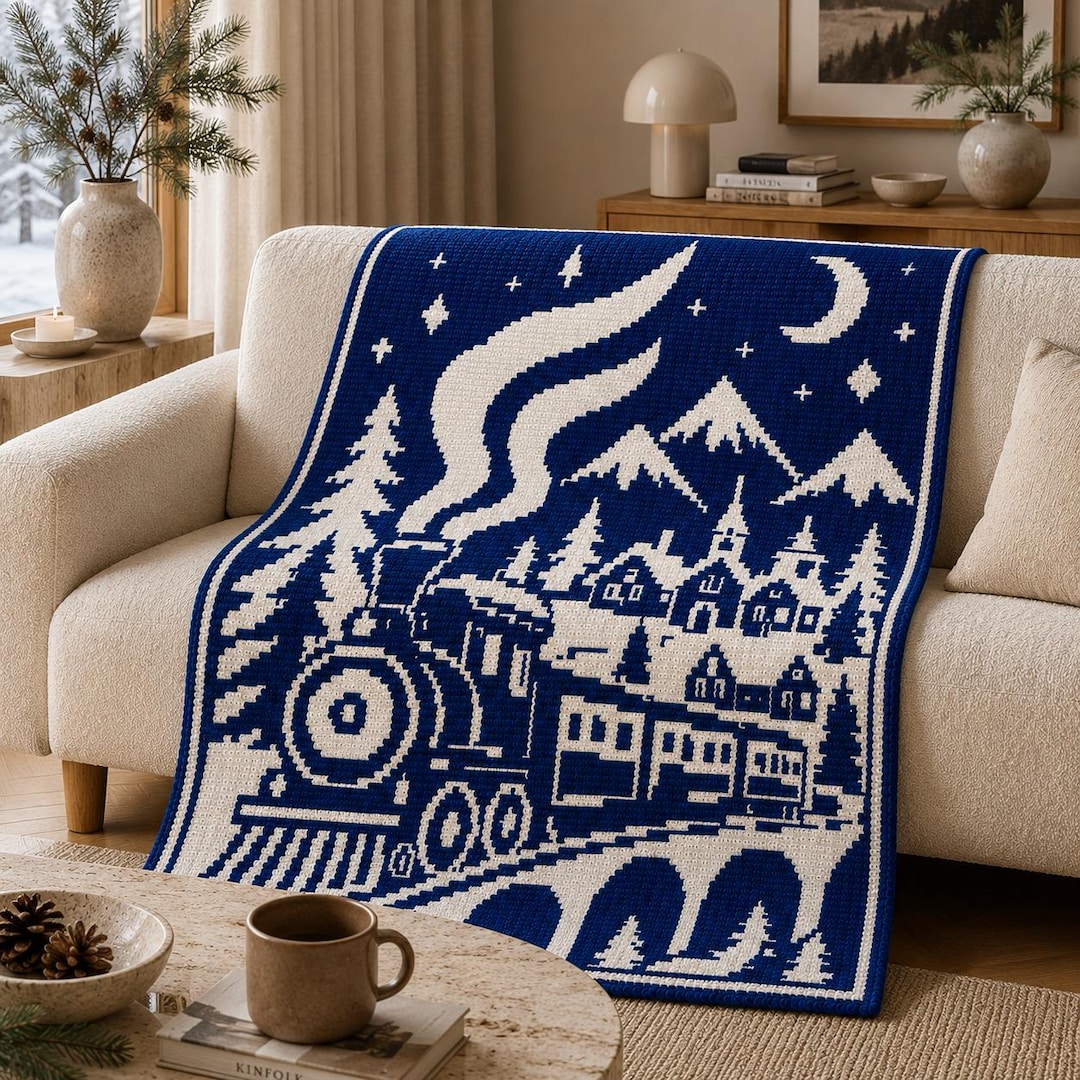
Overlay mosaic crochet is a two-color technique where double crochet stitches are worked over the top of earlier rows to create bold, raised designs. It's the technique behind most modern mosaic blankets, and it only uses single crochet and double crochet. This guide explains exactly how it works, step by step.
Quick Answer
In overlay mosaic crochet you work one color per row, usually from the right side only. Most stitches are single crochet in the back loop only. Where the chart shows an X, you work a double crochet into the front loop of the stitch two rows below, which lays over the row in between and creates the design. At the end of each row you fasten off (or carry the yarn, if your pattern says so) and start the next color.
Key Takeaways
- Only two main stitches: sc in the back loop (BLO) and dc in the front loop (FLO) two rows below.
- Rows are usually worked from the right side, so the chart matches what you see.
- The first and last stitches of each row are usually worked through both loops to make neat edges.
- Yarn tails at the sides can be woven in, hidden in a border or turned into fringe.
Overlay vs Inset Mosaic
| Overlay mosaic | Inset mosaic | |
|---|---|---|
| Base stitch | sc in back loop only | sc and chain spaces |
| Design stitch | dc in front loop, 2 rows below | dc into skipped stitch below, in front of chain space |
| Rows per color | Usually 1 (right side only) | Usually 2 (right side + wrong side) |
| Look | Raised, textured front; striped back | Flatter, often neat on both sides |
| Yarn ends | Many tails at sides (unless carried) | Color carried up the side |
For more background, read What Is Mosaic Crochet? A Beginner's Guide.
What You Need
- Two contrasting yarns of the same weight (smooth yarn shows the design best; see our yarn guide).
- The hook size recommended by your pattern.
- An overlay mosaic chart, printed if possible.
- Stitch markers and a yarn needle.
How to Do Overlay Mosaic Crochet: Step by Step
These are the most common steps. Always follow your pattern's own instructions where they differ.
Step 1: Foundation
Chain the number your pattern gives, then work the foundation row(s) in single crochet with Color A.
Step 2: Join the next color on the right side
Fasten off and join Color B at the start of the next row (on the right side), or follow your pattern if it carries the yarn instead.
Step 3: Edge stitch
Chain 1 and single crochet into the first stitch through both loops.
Step 4: Plain squares = sc in back loop only
For each square with no symbol, work a single crochet into the back loop only. This leaves the front loops free for later.
Step 5: Marked squares = dc in front loop two rows below
Where the chart shows an X (or dot), work a double crochet into the front loop of the stitch two rows below, the last row in the same color. Skip the stitch behind it on the current row. The dc covers the row in between and pulls the color to the front.
Step 6: Last stitch and fasten off
Work the last stitch through both loops, then fasten off, leaving a tail. Join the other color and repeat.
Step 7: Repeat and track
Work every row from the chart, ticking it off as you go. Step-by-step chart reading is covered in How to Read a Mosaic Crochet Chart.
Finishing Overlay Mosaic
- Fringe: knot the side tails together in groups.
- Border: work a border over the tails to hide them.
- Weave in: the neatest option, but slow on large blankets.
Common Mistakes
- Working into both loops instead of BLO, which closes the front loops you need later.
- Dropping into the wrong row: the dc goes into the row of the same color, two rows down.
- Forgetting to skip the stitch behind the dc, which adds extra stitches.
- Tight dc stitches that make the fabric pucker.
- Not counting at the end of each row.
Overlay Mosaic Patterns for Beginners
Botanical Bloom Beginner Overlay Mosaic

A floral blanket written as a beginner overlay mosaic chart.
Best for: learning the technique
Moon Cat Overlay Mosaic Blanket

A bold cat-and-moon silhouette in overlay mosaic.
Best for: cat lovers
More options: 10 mosaic crochet blanket patterns for beginners.
FAQ
Do you turn your work in overlay mosaic crochet?
Usually not. Most overlay patterns are worked from the right side only. Some variations turn or carry the yarn, so follow your pattern.
Why are there so many yarn ends?
Because each row is worked from the same side, you often fasten off at the end of every row. Many crocheters turn the ends into a fringe or hide them in a border.
Is overlay mosaic good for beginners?
Yes. If you know sc and dc, you can learn it. Start with a small swatch.
Does overlay mosaic use a lot of yarn?
It makes a thick, dense fabric, so it generally uses more yarn than plain stitches. Check your pattern's yarn requirements.
Try Overlay Mosaic Crochet
Start with a beginner overlay mosaic chart and see the design appear row by row.